- Pay-Per-Click
- SEO
Beginner,
Intermediate
Get a behind-the-scenes-look into FareHarbor's 2024 season

Once you’ve set up your Facebook Pixel it’s time to put it to work! As a FareHarbor client, it is likely that you will want to use the Facebook Pixel to sell more availabilities on your tours or activities – which means your focus is on converting your audience into bookers.
This guide covers the ways to track events with Facebook Pixel and how it works in relation to your FareHarbor dashboard.
There are three ways to track conversions with the pixel:
Please note: FareHarbor currently supports pixel tracking from the confirmation page only, using the “Purchase” standard event.
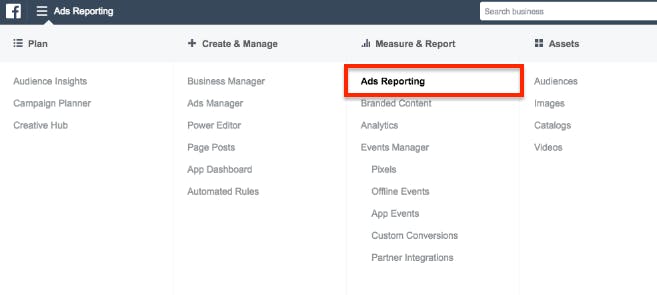
To track the success of your ads, go to your Ads Manager on Facebook, and select Ads Reporting.

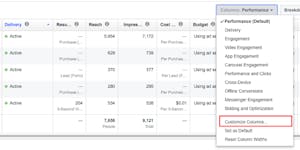
From here, you can create a report with customized columns to display data from your Facebook pixel.
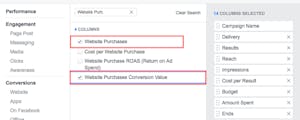
 Add the Website Purchases and Website Purchases Conversion Value columns to your report to track the number of purchases made with the pixel and their associated revenue.

Once you have successfully created the Facebook Pixel and added the code to your website, simply provide your Pixel ID code to FareHarbor and we will implement it in your FareHarbor dashboard. This allows your dashboard and the Facebook Pixel connected to your Facebook page and website to communicate the actions taken within the Book form.
FareHarbor’s lightframe works in the same way an online shopping cart or confirmation page would track an action taken. To understand the full impact of your Facebook ad & pixel, make sure you also have Google Analytics set up. From Google Analytics, you can track referral traffic from Facebook, see customer behavior on your website, and view your average eCommerce conversion rates for Facebook-specific audiences.
For an in-depth look at creating Facebook ads and using pay-per-click advertising to promote your tours and activities, check out this guide. More information on all things Facebook can be found here.